Dial-up support for Windows 7.
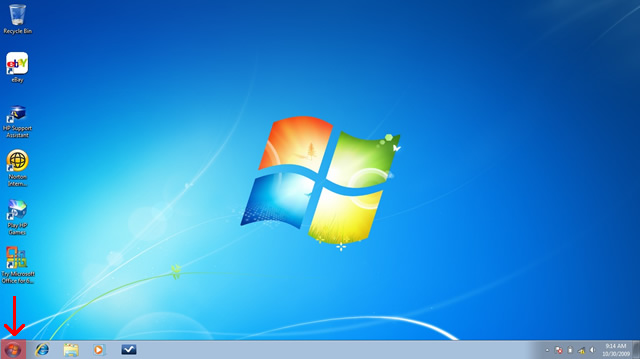
Click on the Windows Logo in the bottom left of the desktop screen.
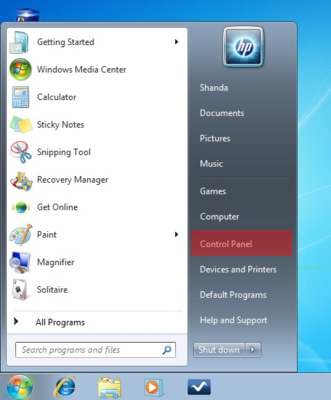
Open the control panel
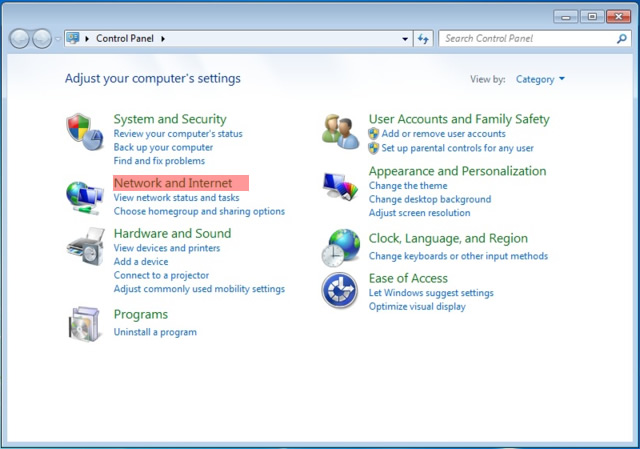
Open “Network and Internet”
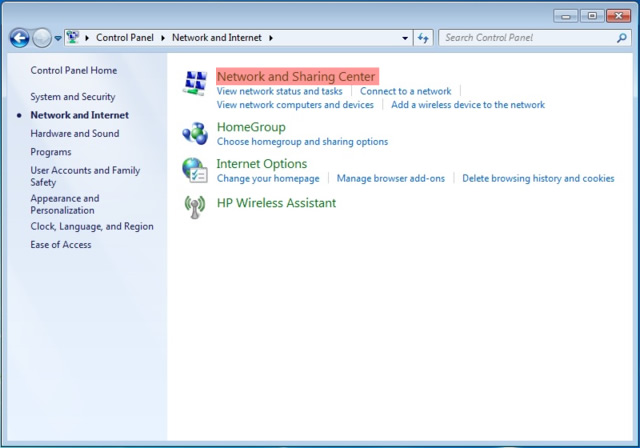
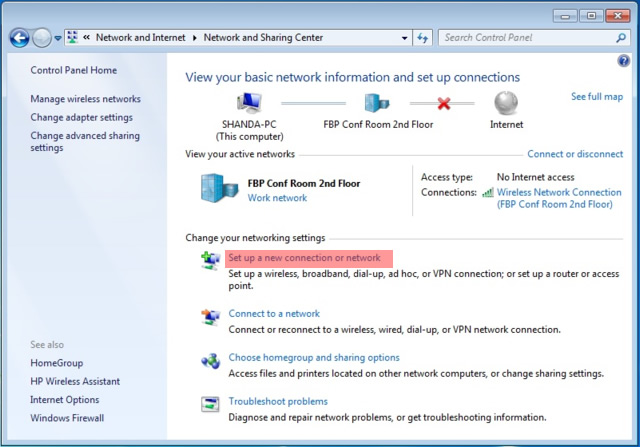
Click on “Network and Sharing Center”
Select “Set up a new connection or network”.
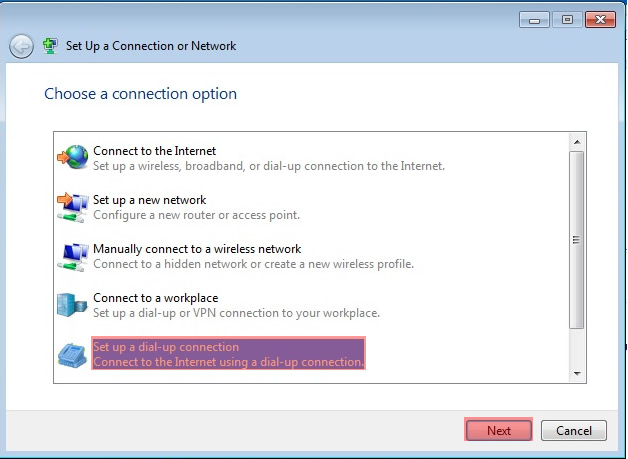
Choose “Set up a dial-up connection” then click “Next”.
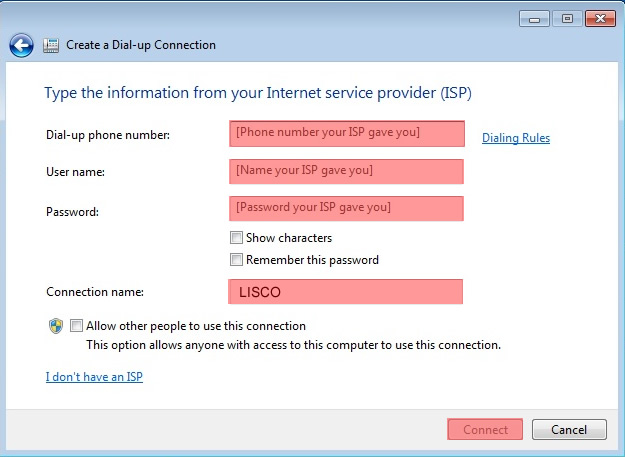
Put in the LISCO access number. Click here for a list of access numbers.
Enter your LISCO username and password. Change the “Connection name” field to say “LISCO”. Click “Connect”.
Don't Be Shy
If we didn't answer all of your questions, feel free to drop us a line anytime.
LISCO
58 E. Burlington Ave.
Fairfield, IA 52556
800-331-8414
641-472-5400
custserv@liscocorp.com
Don't Be Shy
If we didn't answer all of your questions, feel free to drop us a line anytime.